I've been thinking about 3 of the different methods described in this conversation:
1. Using a thin wire or Yamaha 3-in-1 gauge per every individual note is good for making every note accurately distant from it's strings...not all strings are lined up evenly (the trichord for A4 might be 0.5mm higher than the trichord for A#4 because of improperly installed agraffes...as an extreme example).
2. Using the Tautline jig or a magnetic strip attached to the strings lines up the hammer crowns evenly at let-off...but again, the strings may not all be lined up evenly and even the hammer-crown-to-shank-distances may not be even...so even you you achieve level hammer crowns at let-off the shank angles may not be aligned evenly at let-off.
3. Using the key slip (similarly, the Bolduc/LaRoy Edwards contraption...or a 12" stick of wood like Jim Busby does ["The Stick"]) aligns the shanks for even let-off but the hammer crowns may not be aligned evenly...again, due to inconsistent hammer-crown-to-shank-distances. AND the strings, again, may not all be aligned.
Furthermore, using the keyslip for the entire piano is not the best idea since string heights can and will vary GLOBALLY per section (the entire bass section of strings may be 0.5mm away from keybed than the tenor section...as an example).
Also, some sections of string heights may actually curve as opposed to being flat across/or linear...thus negating the Tautline or magnetic strip and any tool that rests under the hammer shanks.
I know some suggest setting grand let-off via adjusting let-off first for blocking against the strings THEN scaling it back every note so that when you strike a note held with the sostenuto pedal at FFF and very quickly AND gently bring it back to let-off that it won't "zing" against it's vibrating strings. I wonder what inconsistencies come out of this method...perhaps technician not striking notes with the same rhythm and finesse every single time.
------------------------------
Cobrun Sells
cobrun94@yahoo.com------------------------------
Original Message:
Sent: 11-23-2025 01:44
From: Cobrun Sells
Subject: Another way to set let-off
This video file upload might work...
------------------------------
Cobrun Sells
cobrun94@yahoo.com
Original Message:
Sent: 11-22-2025 23:58
From: Steven Rosenthal
Subject: Another way to set let-off
LaRoy Edwards' let off tool is pretty slick. https://www.youtube.com/watch?v=4EYb904oDpk
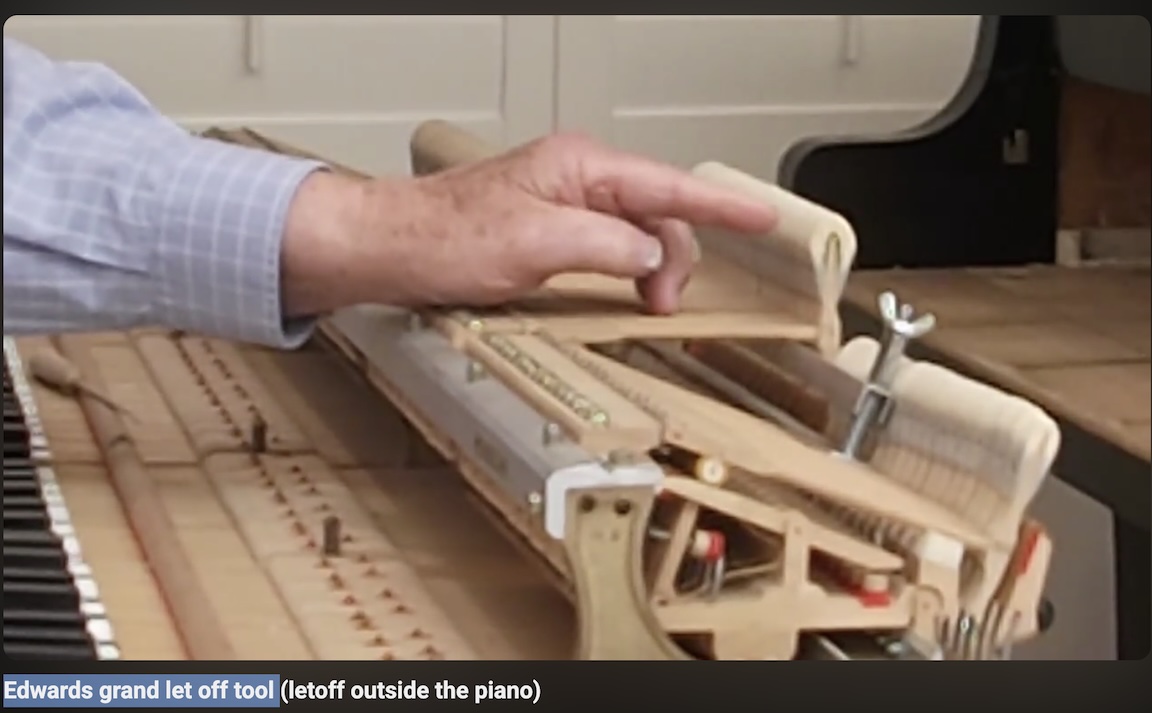
Bolduc is selling a wood version of it. Doesn't look hard to make.
https://shop.pianosbolduc.com/products/let-off-regulation-tool
------------------------------
Steven Rosenthal RPT
Honolulu HI
(808) 521-7129
Original Message:
Sent: 11-22-2025 21:50
From: Cobrun Sells
Subject: Another way to set let-off
Ben, does the Fries gauge come with instructions as to all 9 portions of the gauge?
------------------------------
Cobrun Sells
cobrun94@yahoo.com
Original Message:
Sent: 01-25-2018 12:01
From: Benjamin Sanchez
Subject: Another way to set let-off
Chris,
Your creativity is awesome! Keep up the good work!
As far as setting let off in the piano, I prefer to use the Emil Fries 9 in 1 gauge, available from Schaff. The paper that came with it said it was made for a blind tech, so I figured it was best to learn to use it by feel. So I learned how to use it by feel, and have been very pleased with the results.
------------------------------
Benjamin Sanchez
Professional Piano Services
(805)315-8050
www.professional-piano-services.com
BenPianoPro@comcast.net
Original Message:
Sent: 01-24-2018 18:18
From: Chris Chernobieff
Subject: Another way to set let-off
I agree it's back breaking. That's why I made this tool. Spring loaded let off tool. It holds itself in place. After let off is set then I use my gravity drop tool on the bench.
When it comes to let off, I prefer getting it done in the piano versus any clever bench jig. 
------------------------------
A hunter's drumbeat steers the stampeding herd,
His belly growls in hunger to what he sees.
The mammoth aware blows his mighty trumpet,
But alas, the caveman tickles the ivories.
chernobieffpiano.com
865-986-7720
Original Message:
Sent: 01-24-2018 01:28
From: David Love
Subject: Another way to set let-off
If you're like me, setting let-off on Baldwin style barrel let off buttons can be a real pain in the back especially when it requires a significant adjustment in the field. Having to crane your neck to both see the let-off point and find the hole in the barrel in order to turn it can be a real hassle.
Here's one method to get the let-off roughed in very quickly and very accurately, and allowing you to set the action on top of the piano where adjustment can be made to the let off buttons easily and comfortably. In this attached video I've used the key slip inserted under the hammers supporting the shanks.
First adjust the let-off on the end hammers of each section in the piano to function as your guides. Then set the action on a blanket on top of the closed lid. Insert the key slip under the hammers so that the key slip is supporting the shanks (not the hammer tails). On this type of action the continuous hammer rest rail offers an easy way to support the keyslip. Adjust the height of the keyslip by inserting a felt or rubber mutes between the keyslip and the hammer rest rail's threaded posts that stick up above the rest rail itself. Adjust the height of the rail so that when you depress the key on the guide notes of each section, the shank rises just slightly and then falls back onto the keyslip. You'll be able to see the shank barely rise and also hear the sound of the shank falling back on the keyslip. You may have to make adjustments in the height of the keyslip from section to section but in this case I didn't. Once you establish the keyslip level on your guide notes, you can adjust the rest of the keys to duplicate the rise and fall by both sight and sound.
See attached videos for a demonstration. There are two videos, one is of an adjustment being made to duplicate the guide note, the other is after everything has been completed.
When you are done you can insert the action back in the piano and tweak as necessary. The final adjustments needed should be relatively minor.
Of course be careful that the keyslip is not contacting anything that might scratch it.
------------------------------
David Love RPT
www.davidlovepianos.com
davidlovepianos@comcast.net
415 407 8320
------------------------------